Hosting ASP.NET Core API as Windows Service

In this article, we shall see how Hosting ASP.NET Core API as Windows Service can be enabled in ASP.NET Core 3.1 or 6.0 API by using UseWindowsService.
Today in this article, we will cover below aspects,
We shall be using an approach where we will use UseWindowsService and convert the API as a Windows service.
If you want to create ASP.NET Core API as Service (in addition to the endpoint exposed via a different HTTP route using Controller) using another approach i.e Worker template method discussed, please do visit the below article for more information.
Let’s now look into an approach -II
Getting started
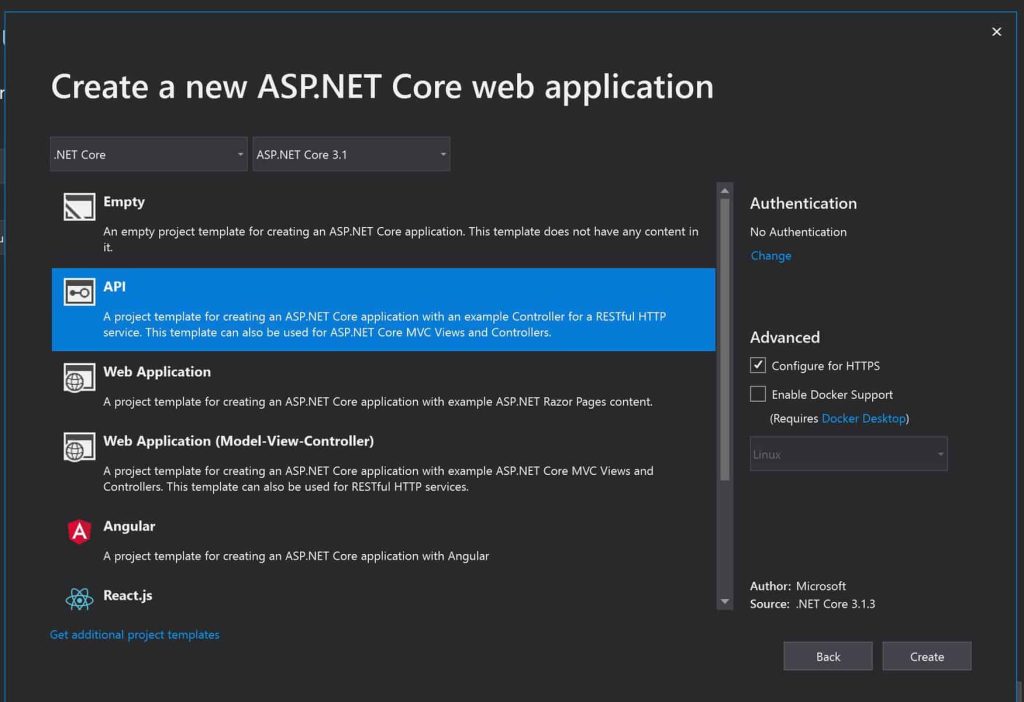
Create ASP.NET Core API using 3.1 or 5.0 .NET Core version.

Install Nuget Package as below,
PM> Install-Package Microsoft.Extensions.Hosting.WindowsServices
Or Using Nuget Manager,

Enable UseWindowsService for the Host
CreateDefaultBuilder generic host builder needs to be configured with UseWindowsService(). Here UseWindowsService sets the host lifetime to WindowsServiceLifetime, sets the Content Root, and enables logging to the event log with the application name as the default source name.
  public class Program
    {
        public static void Main(string[] args)
        {
            CreateHostBuilder(args).Build().Run();
        }

        public static IHostBuilder CreateHostBuilder(string[] args) =>
            Host.CreateDefaultBuilder(args)
                .ConfigureWebHostDefaults(webBuilder =>
                {
                    webBuilder.UseStartup<Startup>();

                }).ConfigureWebHost(config =>
                {
                    config.UseUrls("http://*:5050");

                }).UseWindowsService();
    }
Here I am configuring the Windows Service for the Url http://localhost:5050
As you can see we have converted our API as a service using just one line of code i.e UseWindowsService()
Let’s publish the package as self-contained and then followed by deploy using the Windows Service CLI command.
dotnet publish -c Release -r win-x64 --self-contained
or using Visual Studio

Hosting API as a Service
Now we are all set to deploy the service to the services.msc.I shall install this service and validate the URLs working fine.
Please use the below command to register the service,
sc create [app-name] binPath=[filepath]
Example
sc create APIasWIN binPath="C:\Users\WebAPIasService\bin\Release\netcoreapp3.1\WebAPIasService.exe"

Once hosted successfully, you shall see the service listed in the Service Console as below,

Lets now execute the API routes below,
http://localhost:5050/WeatherForecast/

You shall be able to execute all the routes supported by your API without any issues.
That’s All! Thank you!
Reference:
Do you have any comments or ideas or any better suggestions to share?
Please sound off your comments below.
Happy Coding !!
Summary
Today in this article we learned how to enable ASP.NET Core API as Service. We hosted API as a Window service using a Service console and were able to call API routes from the service easily.
Please bookmark this page and share it with your friends. Please Subscribe to the blog to receive notifications on freshly published(2024) best practices and guidelines for software design and development.