Build App in a Docker Container – Getting Started

Today in this article, we will see how to Build App in a Docker Container image for the given application. We will create a Dockerfile then built an image and then start the container and also visualize the running app.
Today in this article, we will cover below aspects,
You could use any sample of your choice for this exercise.
I am using an ASP.NET MVC application with a simple “Hello World” screen.
Below are the high-level steps, which we will be performing in this tutorial.
- Get the Application and set up prerequisites
- Build the app’s container image
- Start the app container
- Visualize the running App
- Push the image to the Docker registry
Prerequisites
This tutorial assumes you have the latest version of Docker installed on your machine.
If not then please install the Docker version as support for your OS.
For Windows/Mac
- https://docs.docker.com/desktop/
- Login to your docker project account
You can use any of your Angular, Java, Python, or node js application as required.
Getting started
Step 1 – Get the app
Before we can run the application, You need the application on your machine. If you already have a project using any language then use it.
For simplicity, we will get the application source code already available from GitHub onto our machine.
Alternatively, you can get started using the below repo,
git clone https://github.com/thecodebuzz
Step 2- Build the app’s container image
This is is the first step to making sure you leverage docker for your application.
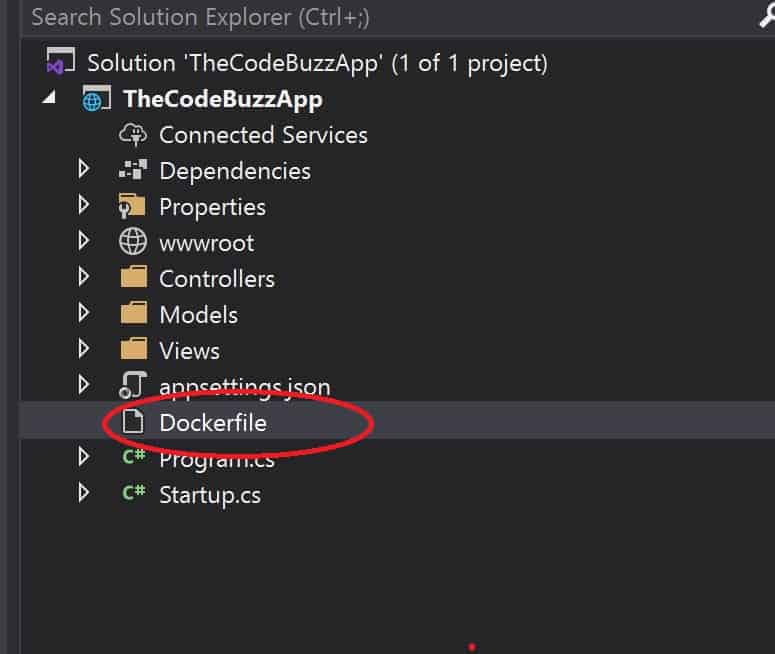
In this step, you need to add Dockerfile to your project. below is a sample docker file.
FROM mcr.microsoft.com/dotnet/aspnet:5.0

WORKDIR /thecodebuzzapp

COPY bin/Release/net5.0/publish/. /app/

EXPOSE 80

CMD ["dotnet","TheCodeBuzzApp.dll"]
Note : Dockerfile has no file extension. Please make sure you don’t use any extension accidentally to avoid any issue at a later stage.
Below is how I have kept the Dockerfile in the project folder
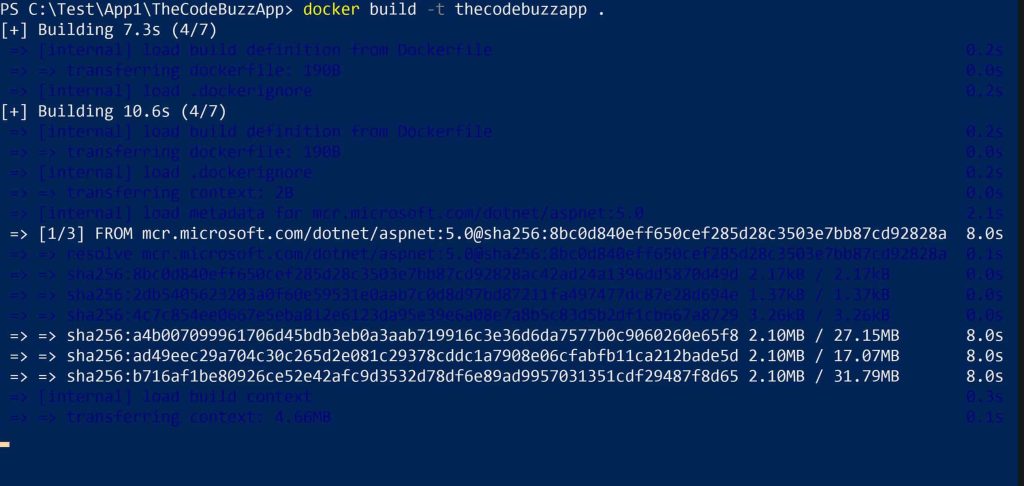
Let’s build the images
docker build -t TheCodeBuzzApp .
Once you execute the build commands Container will build the image
Step 3 – Start an app container
Let’s now start the container using the docker run command and specify the name of the image we just created in the above steps.
docker run -dp 80:80 thecodebuzzapp

All you need to do here is open the browser with LocalHost and port 80 as below,
http://localhost/80
Push the image to the Docker registry
Now let’s use the below commands to push the image to the docker registry ,
docker push YOUR-USER-NAME/Your-Docker-Name
If the tag is not available already then Docker will a tag called ‘latest’
Example
docker push firstthecodebuzz/thecodebuzzapp
References:
Do you have any comments or ideas or any better suggestions to share?
Please sound off your comments below.
Happy Coding !!
Summary
Today in this article, we learned the basics of building a container image for the given application. We created Dockerfile then built an image and then started the container and visualize the running app.
Next, we’re going to make a modification to our app and learn how to update our running application with a new image. Along the way, we’ll learn a few other useful commands.
Please bookmark this page and share it with your friends. Please Subscribe to the blog to receive notifications on freshly published (2025) best practices and guidelines for software design and development.