How to Create Simple ASMX Web Services
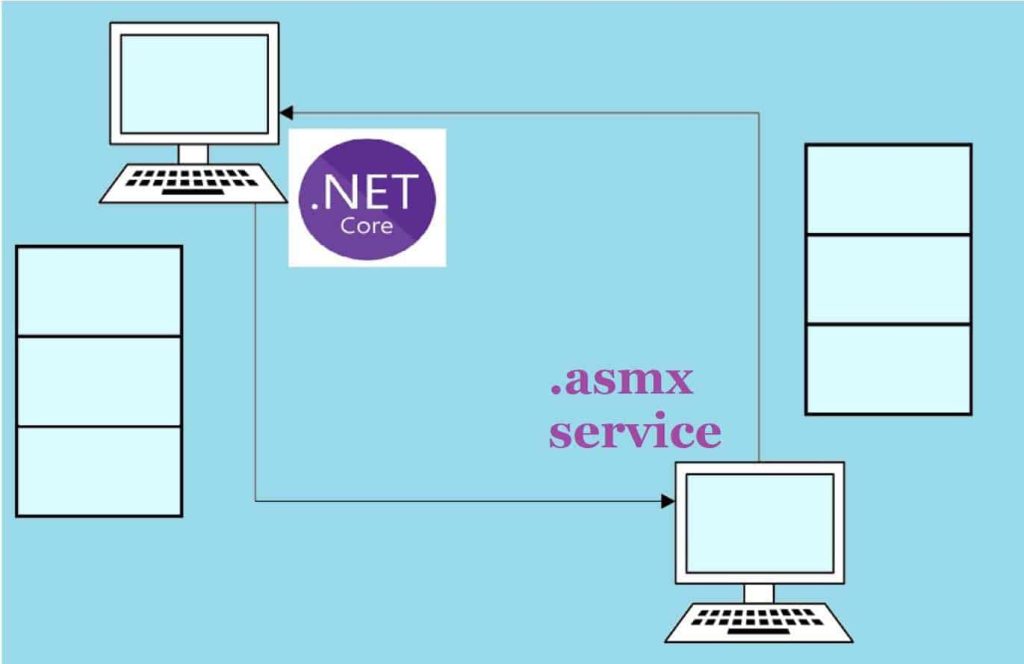
In this article, we will see how to create ASMX web services then consume it any ASP.NET or ASP.NET Core application.
You might be surprised why we really need to create ASMX services when we have more advanced options like gRPC, WCF (Windows Communication Foundation) or ASP.NET/Core, API templates, etc.
The simple answer is “Requirement“.
Today in this article, we will cover below aspects,
It’s recommended to use gRPC, WCF (Windows Communication Foundation) or ASP.NET/Core, API templates to create the services.
Getting Started
Create ASP.NET application
You may use an Empty ASP.NET project template.
Please add a new item and look for the ASMX file within the visual studio file template as below.
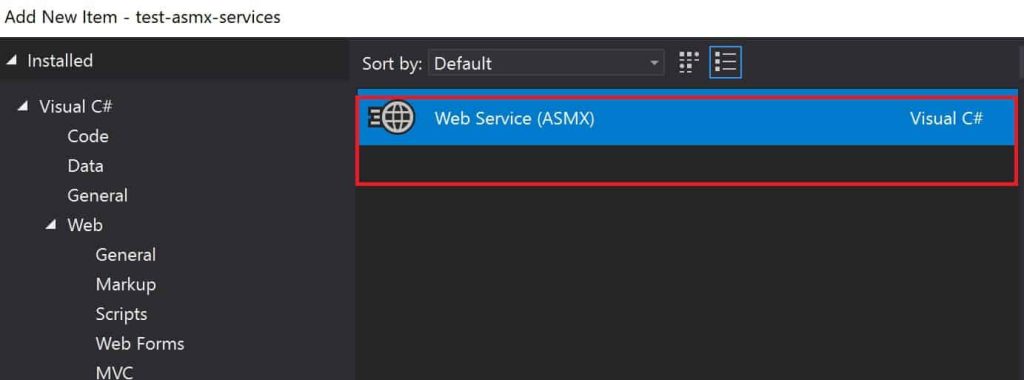
Please add the functions or methods to the service.
You may add below methods to the service(.asmx file) as below,
    /// <summary>
    /// Summary description for WebService1
    /// </summary>
    [WebService(Namespace = "http://tempuri.org/")]
    [WebServiceBinding(ConformsTo = WsiProfiles.BasicProfile1_1)]
    [System.ComponentModel.ToolboxItem(false)]
    public class WebService1 : System.Web.Services.WebService
    {

        [WebMethod]
        public int Add(int a, int b)
        {
            return (a + b);
        }

        [WebMethod]
        public Single Subtract(Single A, Single B)
        {
            return (A - B);
        }

        [WebMethod]
        public Single Multiply(Single A, Single B)
        {
            return A * B;
        }

        [WebMethod]
        public Single Divide(Single A, Single B)
        {
            if (B == 0)
                return -1;
            return Convert.ToSingle(A / B);
        }
    }
Start a service
Let’s now host the service locally or on IIS and invoke an the methods of services.
You can very much test this service from any browser.
That’s All!! Your simple ASMX service is ready to use.
Creating a client for ASMX service
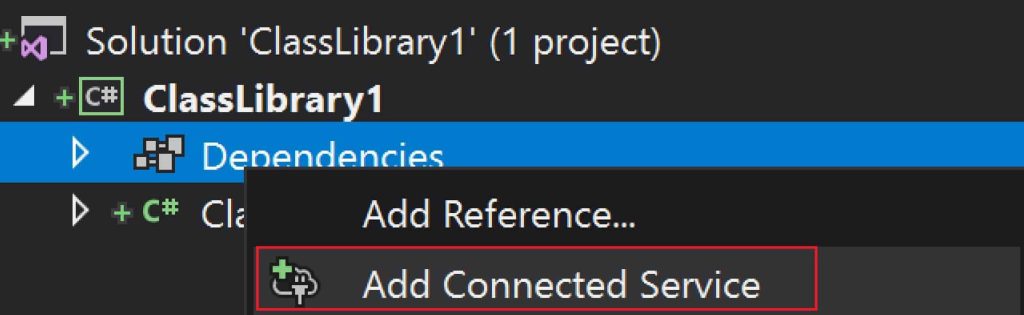
Creating Client proxy Using Connected Services
This is a very simple technique of creating a proxy within the target application.
Connected services let you create client-side code easily using direct Service .asmx URI (If available) or using the WSDL file (If shared by the vendor or third party).
I have discussed both the approaches in detail which are based on ‘Connected Services’ using WSDL and URI in the below article.
Client Code
Once the proxy is generated, the client can invoke service method as below,
class Program
    {
        static async Task Main(string[] args)
        {

            WebService1SoapClient client = new WebService1SoapClient(EndpointConfiguration.WebService1Soap);
            var result = await client.AddAsync(5, 8);
        }
    }
Consuming ASMX services is easy and already explained in our previous article.
Other useful References:
- Consuming ASMX Web Services in ASP.NET Core
- Consume WCF Web Services in .NET Core using ChannelFactory
Please bookmark this page and share it with your friends. Please Subscribe to the blog to receive notifications on freshly published (2025) best practices and guidelines for software design and development.
